APIs and HTTP Requests
You're reading this article, which means you're probably already familiar with APIs and HTTP requests. In case you're not, I'll cover these concepts very briefly, as the purpose of this article isn't to explain WHAT these things are, but HOW these things can be used.
API stands for "Application Programming Interface", and it can easily be defined as an interface that gives you permission to access code someone else wrote. For example, AccuWeather has an API that gives you access to their forecast information; you can then use this data to create something like an application that displays the current weather. You grab that data by making an HTTP request.
HTTP (Hypertext Transfer Protocol) allows web-based applications to communicate with each other and exchange data; the data can be anything, as long as the two computers are able to read it. When you make an HTTP request, you (the client) send an HTTP message to the server, and the server responds back.
fetch() API
Before fetch() was introduced in JavaScript, network requests were typically made
using XMLHttpRequest. I won't be covering the history and syntax of
XMLHttpRequest, as I mainly want to focus on fetch().
The best way to use the fetch() method is by combining it with an async function,
which enables asynchronous, promise-based behavior. Additionally, the syntax is much more concise than
the traditional Promise object.
The syntax for receiving data through the fetch() method is simple; for this example,
I'll be using JSONPlaceholder, which is a free
REST API that can be used for testing and retrieving fake data. Start off by creating an asynchronous function:
async function myFetchRequest() {

}
...next, use the fetch() method inside the function. The fetch()
method has two parameters: the resource, and an optional init object, which can contain
custom settings like HTTP headers. This example will only use the resource parameter...
async function myFetchRequest() {
    const response = await fetch('https://jsonplaceholder.typicode.com/users');
}
...here, the result of fetch() is stored in a variable called
response. Because this is an asynchronous function, the
await keyword must be added. This tells JavaScript to "await" the result of
fetch(), then store that result in the response
variable. Once the response is received, it usually comes in the form of JSON, which then needs to be parsed into a
regular JavaScript object; this is accomplished by using the .json() method...
async function myFetchRequest() {
    const response = await fetch('https://jsonplaceholder.typicode.com/users');
    const data = await response.json();
    console.log(data);
}

myFetchRequest();
...once the JSON has been parsed, it's stored inside the data variable. Invoke
the myFetchRequest() function, and an object of users should be logged to the console...

...nice! You just made your first asynchronous network request using the fetch()
method. If you got an error in the console, then you probably did something wrong. fetch()
automatically throws errors for network issues but not for HTTP errors. To handle HTTP errors, you can use the
response.ok property to see whether the request was successful or not. A successful
request will usually return a status code of 200. Alternatively, you can check any network
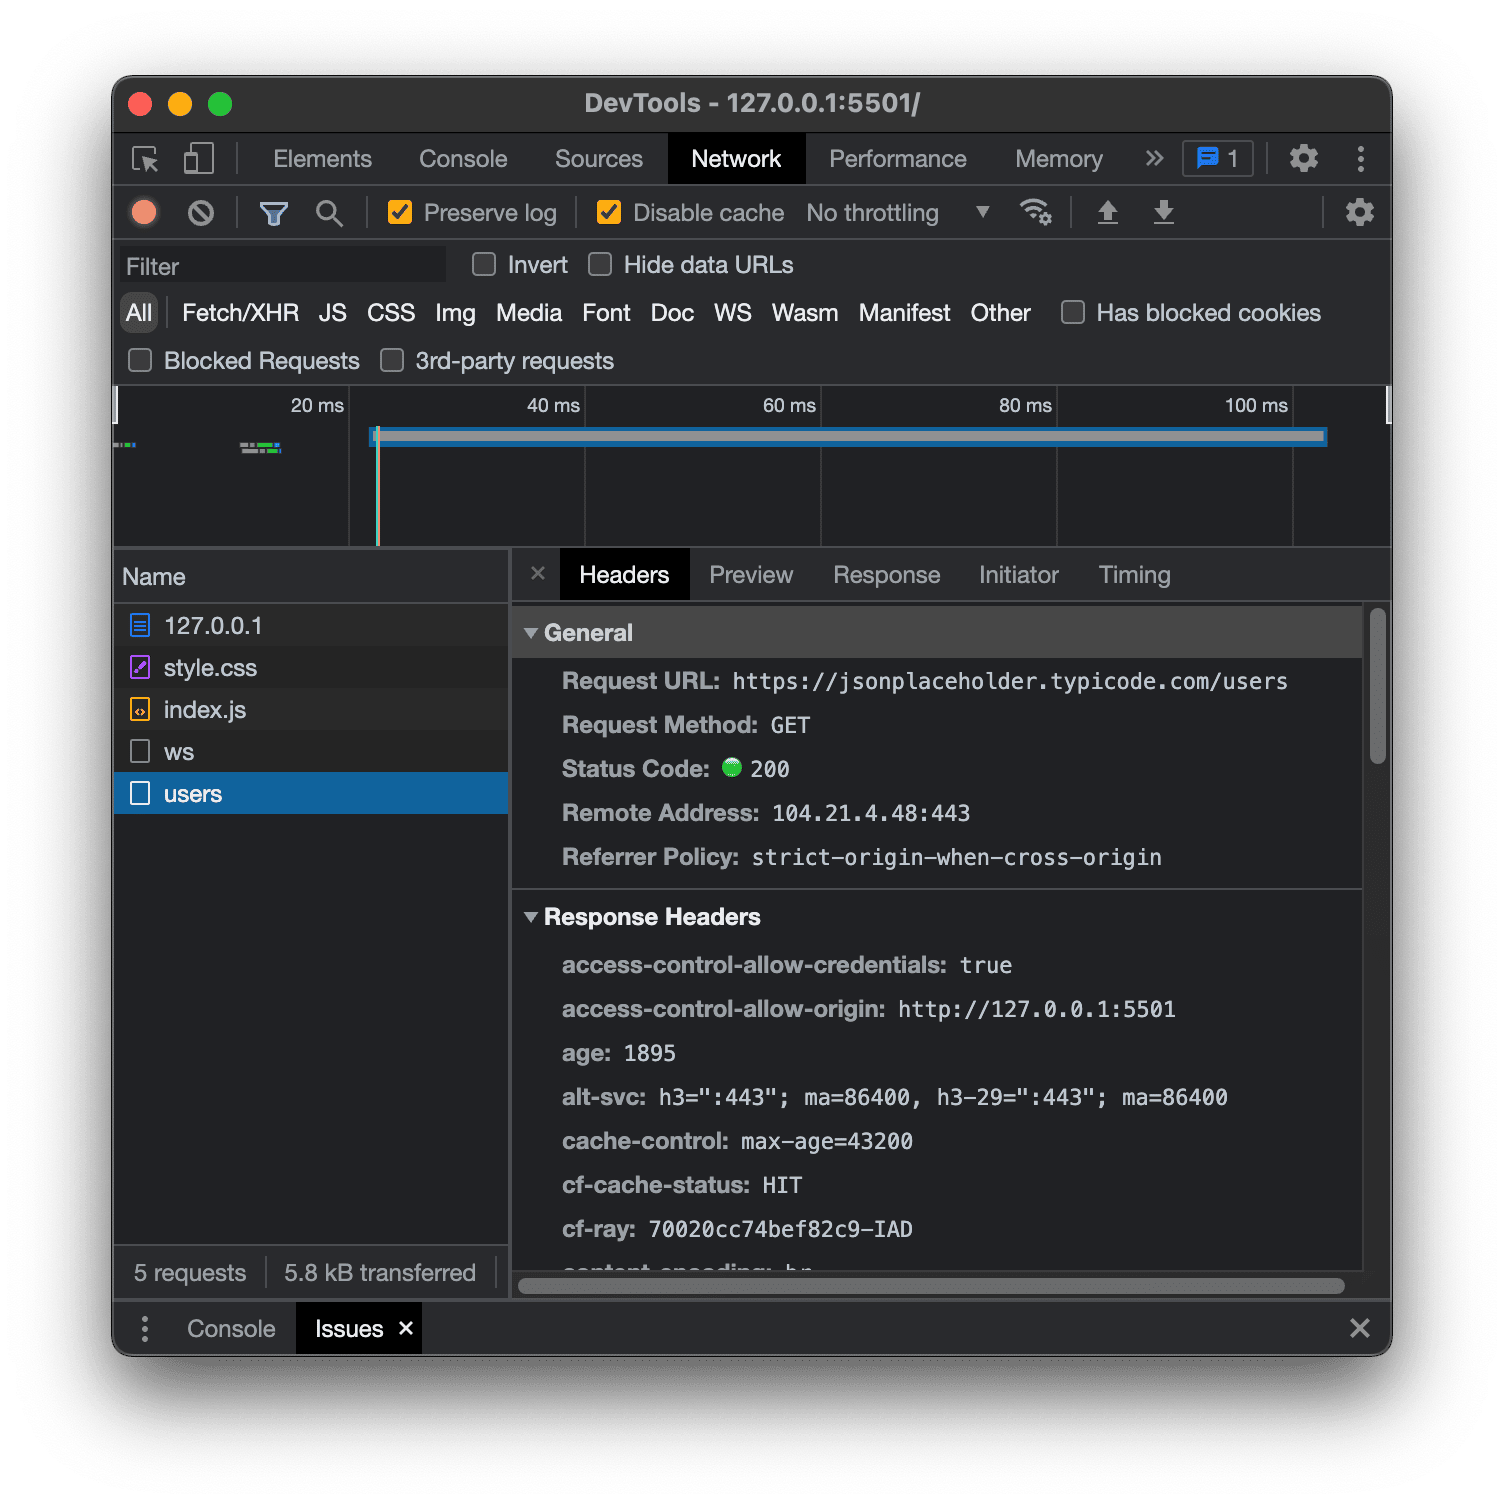
request you make by heading over to the "Network" tab in Chrome DevTools.

...this gives you all kinds of detailed information about your network request — response times, the request method used,
headers, CORS, etc. Here, you can see the request I made returned a status code of 200.
Getting familiar with the "Network" tab is crucial, especially if you're constantly communicating with APIs.
If you're interested in learning more about how HTTP or APIs work, I highly recommend these resources: